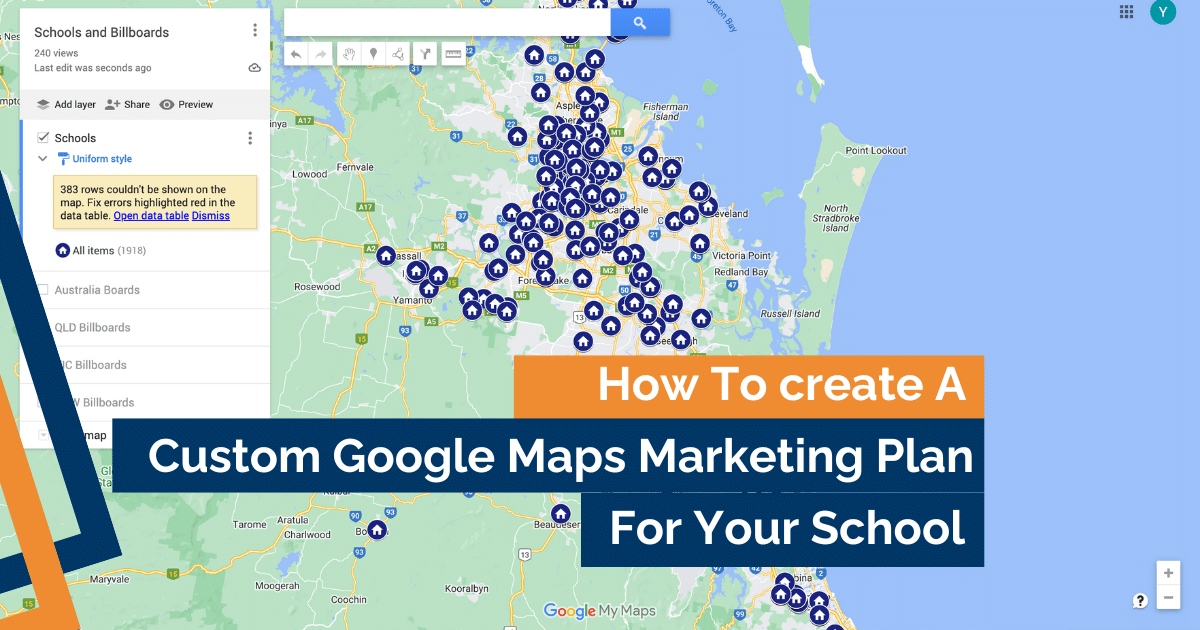
Nowadays, many schools are having a tough time getting students to notice them. There’s a lot of competition, and while many schools rely solely on their Google Maps listing to get noticed, it often falls short in addressing all the modern marketing needs.
This is where having a custom Google Maps Marketing plan comes in handy. A custom Google Maps is a powerful tool that takes your school’s marketing to the next level.
Google Maps for schools can help give you a better understanding of your audience, spot key opportunities, and creating targeted marketing campaigns that really hit the mark.
How to create a custom Google Maps
You’ll first need to make the map to start your Google Maps marketing strategy. Here’s how to do it:
1. Sign in to your Google account and go to google.com/maps. Look for the menu icon—it’s usually three horizontal lines—near the search bar, and click on it

2. Next, select Your Places and go to the Maps tab. At the bottom of the screen, you’ll see a button that says Create Map. Click on that.
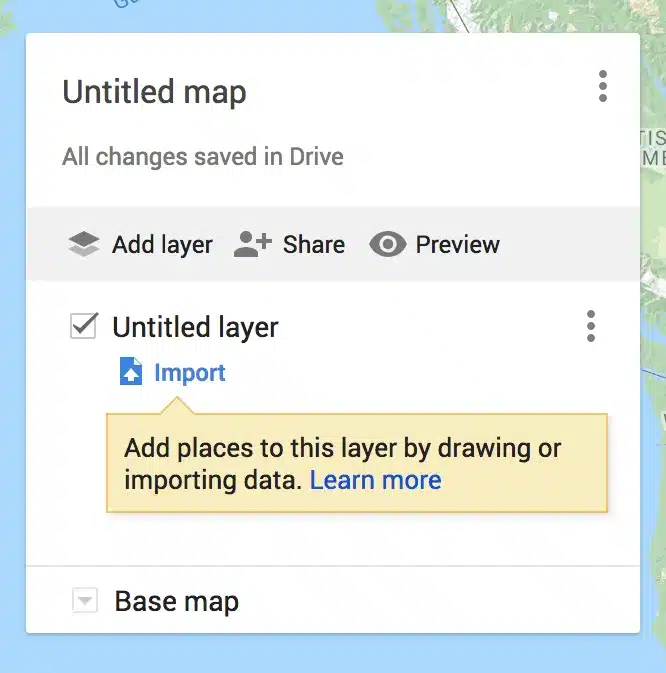
3. A new window will pop up where you can give your map a name and description. Click where it says Untitled Map and type in what you want to call it.
Once that’s all done, you now can start adding information to your map.
How to plot points
If you’re just looking to mark a few points on your map, the easiest way is to search for the address. Google Maps will zoom in on the location, and you can simply click Add to map.
But if you don’t have the address, no worries! You can explore the map until you find the spot you’re looking for. Once you’ve got it, select the Add marker tool under the search bar and click to drop your point right on the map.

Once your marker is in place, you can personalise it even further. Add a title, description, and even include a picture, video, or live webcam stream. Users who click on your point will see all the extra info you’ve added.
If you’ve got a lot of addresses you want to plot on your map, doing it one by one might be tedious. Instead, you can make a spreadsheet with all the addresses you want to use, along with any additional info you want to include for each point.
Once you’ve got your spreadsheet ready, you can import it directly into Google Maps. This saves you a ton of time and ensures all your points are accurately plotted with the right information attached.

Once your data is structured similarly in a spreadsheet, simply to import it into your map builder. Just click on the import link and select your Excel file, CSV, Google Sheet, or any similar format. Google Maps will do the heavy lifting, plotting all your points and adding any names and annotations you included.
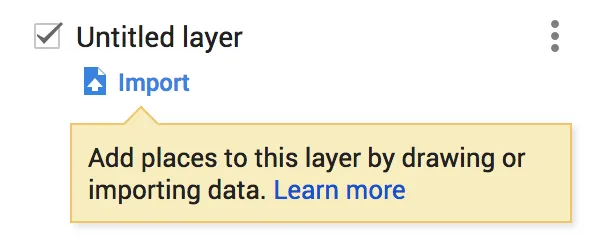
During the import process, Google Maps will ask you to choose which columns from your spreadsheet should be integrated into your map. You’ll also specify which column should provide the name for each marker.
Customise your maps appearance
Once you’ve added the points or shapes you want on your map, you can now customise their appearance.
Simply click on the point or shape you want to customise, then click on the small paint can icon. From there, you’ll have the option to change the colours to suit how you would like your Google Maps Marketing plan to look. For points, you can choose from a variety of specialised icons to represent them.

Note: If you’ve made changes to the appearance of elements within a layer and want to apply different styles to specific elements, you can easily do so.By default, any changes you make will affect every element within the same layer.
However, if you only want to modify one element without impacting the others, simply locate the Uniform style option under the layer name. Click on it and change it to Individual style. This allows you to customise the appearance of each element within the layer independently, giving you greater control over your map’s visual presentation.
Publish and share your new Google Maps Marketing Plan
Once your map is polished and ready to share, simply click on the Share link. By default, it will be set as a private link. To make it accessible to anyone on the internet, click on Change… and adjust the settings to make your map public.
Once you’ve made it public, you can easily copy the URL provided by hitting the Share button and share it across your social media channels.
Otherwise, if you want to embed your map directly into your website, click on the three dots next to your map’s name and click on Embed on my site. You’ll receive an embed code that you can copy and paste into your website’s code or content management system (CMS), such as WordPress.
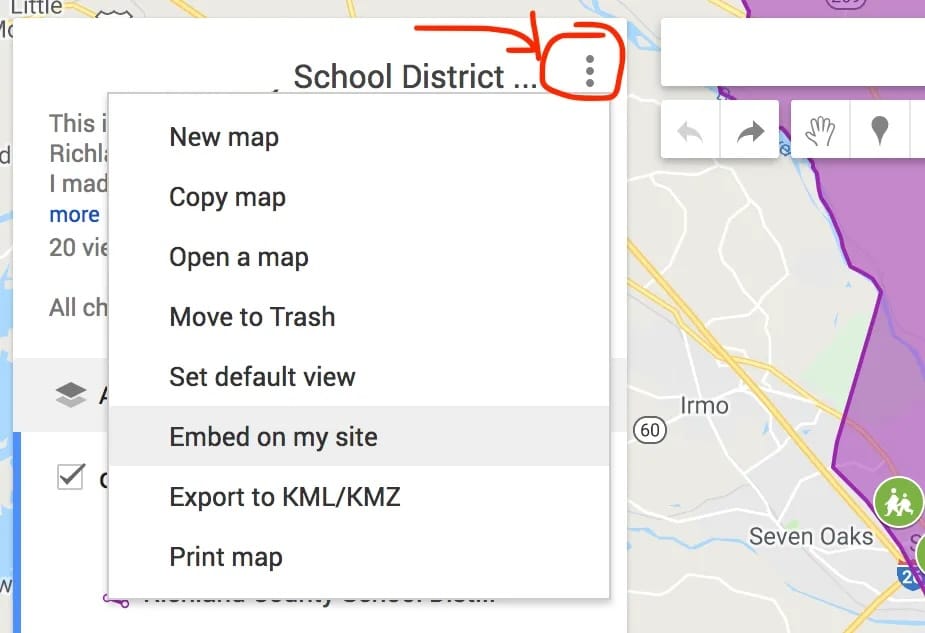
If you prefer to use your map in a print publication, you can export it as a static image. Again, click on the three dots next to your map’s name and choose Print map. From there, select the size and shape you desire, and set the Output type to Image.

